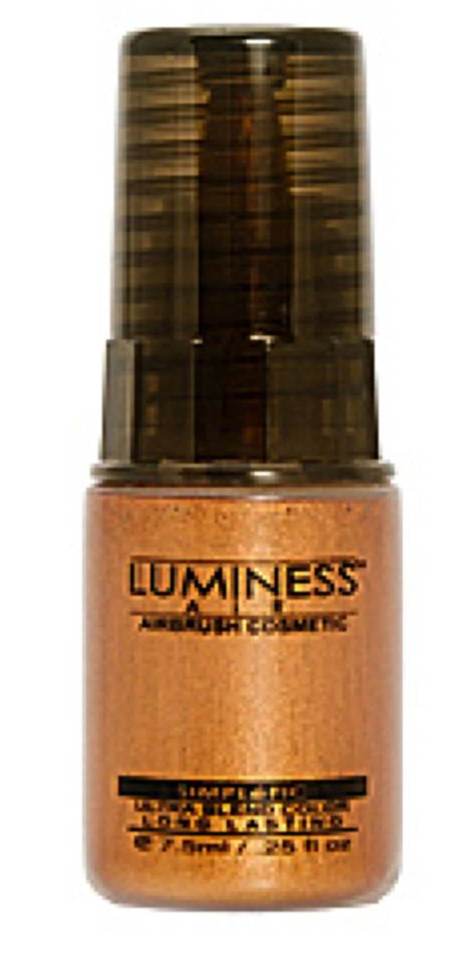
Luminess Airbrushing System
$299.90 us I have been a bad blogger lately. I am sorry, will you forgive me?
I have been spending my time wisely! I have tried a couple new products that I am super happy to share with all of you! The first one I am so excited to share with you all The Luminess Air Airbrush System. I have wanted to try out an airbrushing system since I had the CHANCE to win one at the Glaminar I went to in December. (Which I didn't) So when Makeup Talk, a beauty community that allows you to meet new people, share reviews, and join in discussions on their talk forum had a contest for bloggers to win one, I put a LOT of time into winning one of them! And hot damn, I won one! So after about a week of posting and tweeting EVERYDAY I was chosen randomly as one of the two winners of a Luminess Airbrushing System. I couldn't be more thankful to Makeup Talk and Luminess Air for having this contest. THANK YOU!
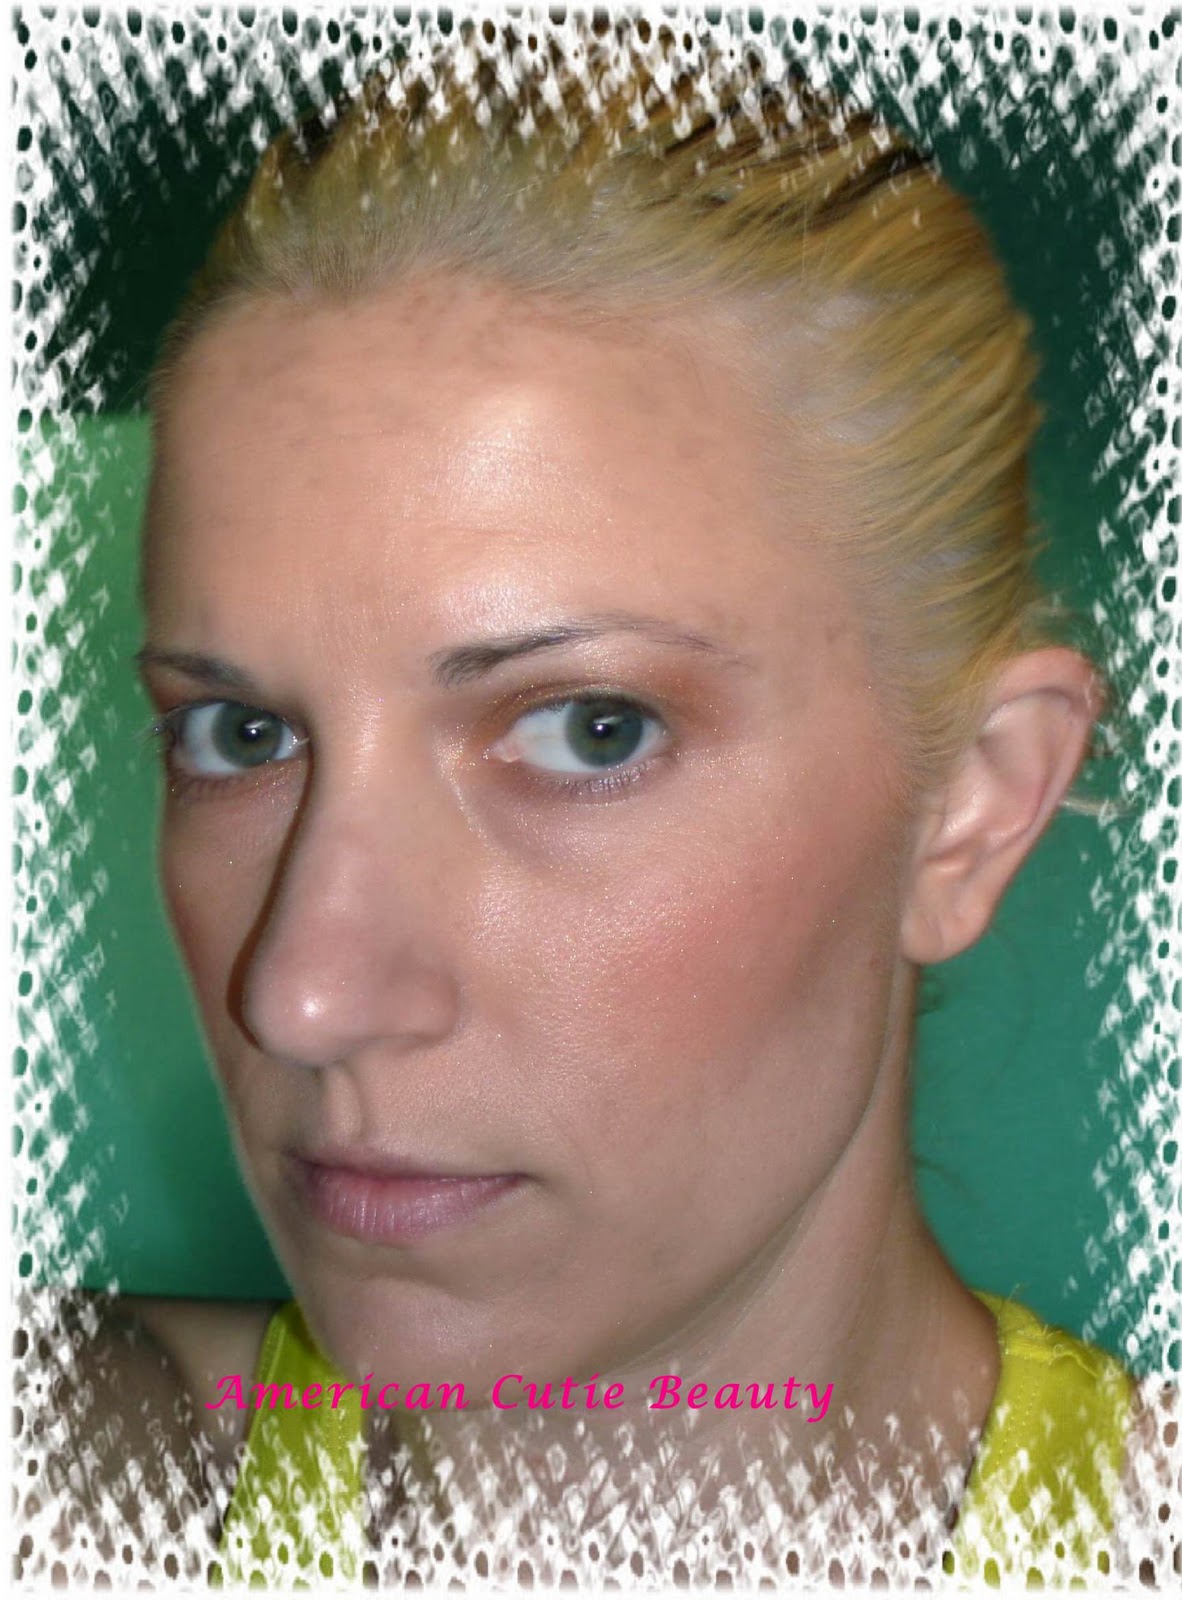
Luminess was super fast on shipping it out, I got it about a week after I was announced as a winner. They have five systems to choose from. I received the iLuminess for TV system (1 speed). This system retails for $299.90 and the makeup kit included retails at $80 (if they sold it separately). The entire package that was sent to me came neatly packed and included a stylish silver case to house the compact compressor and stylus while in use and during storage, an empty bottle with directions for mixing a cleaning solution of alcohol and water for the stylus. An AC adapter, (It is battery capable as well,) an informational DVD and Getting started booklet. A starter makeup kit that included one of each of the following in .25 fl. oz bottles. Moisturizer & primer, G-1 Brightening glow, Blush, Bronzer, and four different color foundations. I chose the Medium Matte formula so I got numbers 3-6.

The airbrush system takes a combination of pressure, distance, and patience. Eventually it will be faster than applying traditional foundation but take your time while learning. Learning how to cover blemishes and get an even coverage will take more than one time to prefect, so don't give up after the first time. Light pressure on the trigger to bring it back, never past the half-way point, (unless cleaning it out) and holding it about 7-10 inches away from your face is kind of like patting your head and rubbing your belly at the same time! ha ha It can be done though! Try it on a sheet of paper first, this will also allow you to see what the coverage is on a white background. When applying to my face it seemed as though it wasn't covering anything till I put my stylus to paper! Done right you will layer very thin layers of makeup to achieve your look, so make sure to cover blemishes first by using a lighter color than your foundation and hold the stylus about 3-4 inches away from your face. Now unless you have almost flawless skin you are going to need a bit of makeup in the stylus. I used probably 12-16 drops in the machine, but got a thicker than desired finish. So with that said 8-10 drops will be good to cover the entire face for the average non-perfect skin. Blemishes depending, can be about 2-5 drops. For blush I found that 4 drops was perfect for both cheeks and 3 drops of bronzer covered the common highlighting areas since it is so pigmented, on the face and I also used it as eyeshadow to boot!
They have two different formulas to choose from. Satin and Matte. The satin formula is for dryer skin. This is what they recommend for everyday wear to give you a dewy, ultra light weight finish. If you have oily skin like me then the Matte finish is more for you. Better coverage with the matte finish and oil controlling properties that last up to 50 hours. Yes, 50 hours! I don't know about that since I am not going to stay up for 50 hours straight or sleep in it to find out. ha ha. Their matte foundation formula, which is what I received is nice, its a little thinner than I was expecting, it is weightless when dry, even after I over sprayed my face it was like I had nothing on still. You do not have to set it with powder , but they do recommend it to help the length of wear. You can use their translucent powder which is formulated to work with the foundation or any other translucent powder will do.Their colors are numbered like most but Luminess has given even numbers pink undertones and odd numbers a yellow-olive undertone, so what ever color your skin is as long as you pick your color range correctly you will have no problem matching your skin to a foundation.

Their Moisturizer & primer takes nothing to apply 2 drops and 5 seconds takes care of the thin layer needed. I can't tell yet how moisturizing it is but from my experiences so far it doesn't make my face oily!


None of the products dried out my face, but dried to a great finish. Their products are a little on the expensive side, so I will probably try out MAC's airbrushing colors and foundations the next time I hit the Pro Store. Plus I get them right away, unlike Luminess which from what I can tell is by mail only. There are so many products out there I want to try a good amount of them to see which is suited for me. For now the Luminess ones will work great for learning how to refine the talent!


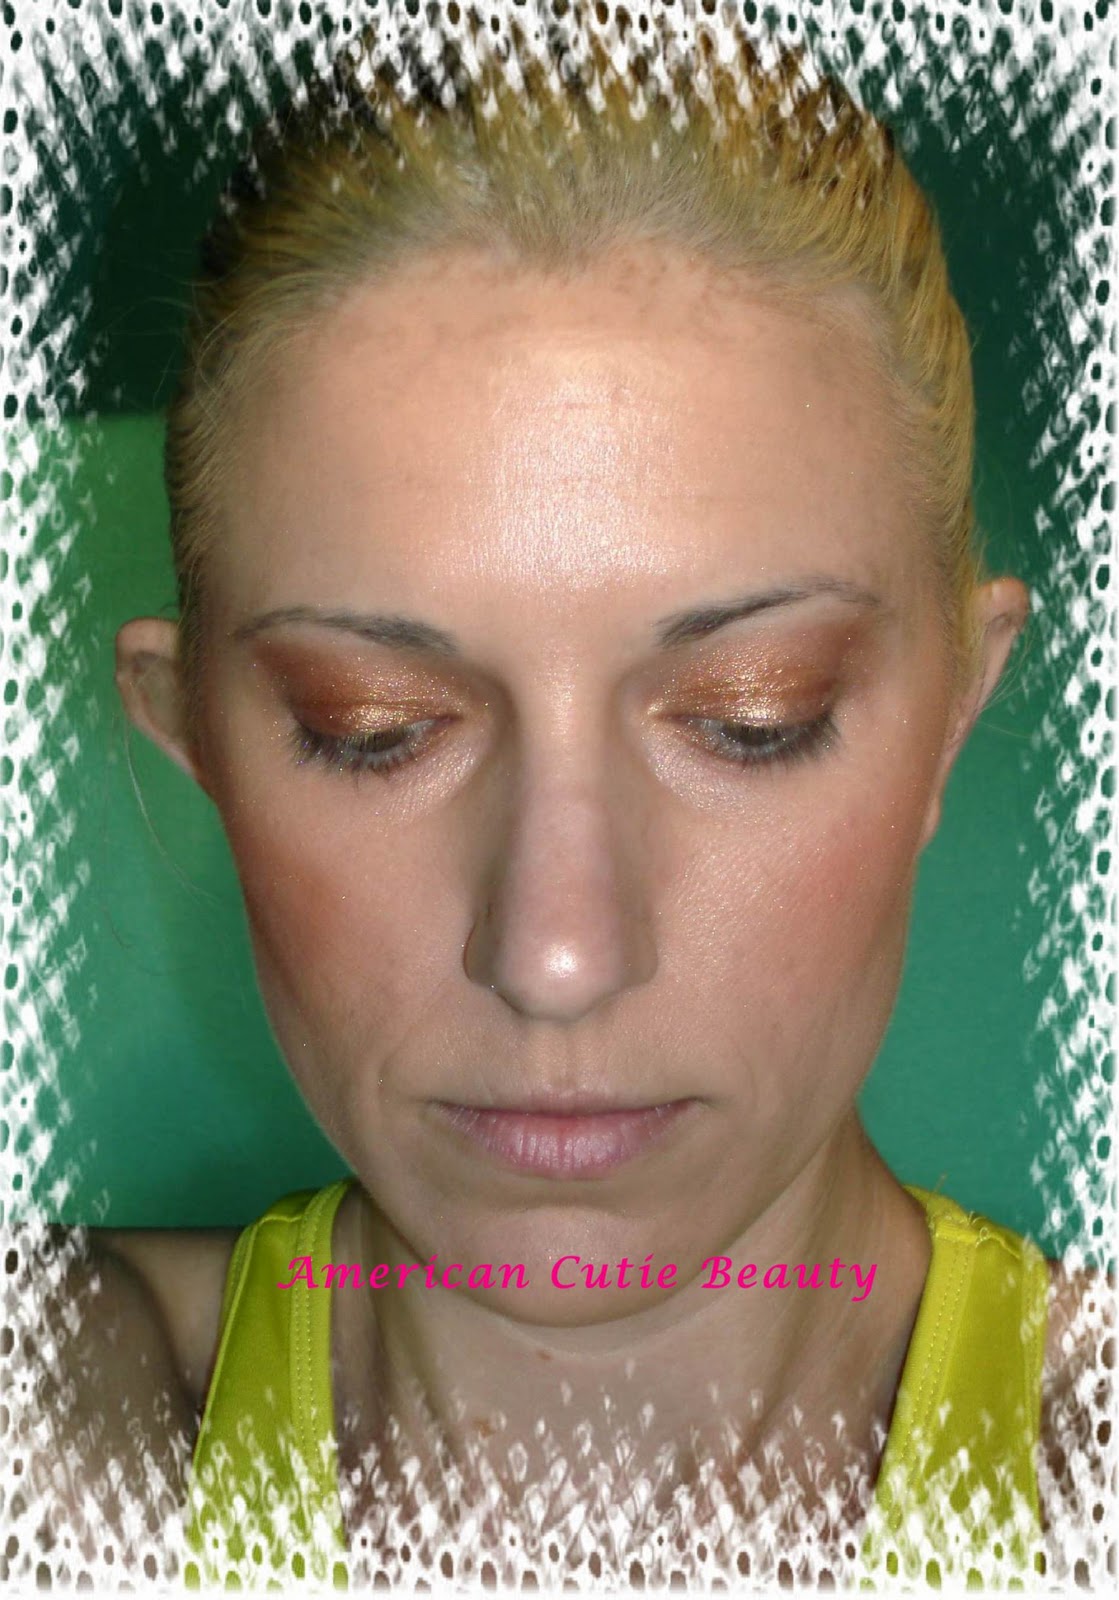


Just a side note, the pictures come across with perfect color and match, but IRL the makeup was a bit dark on me and was noticeable.
I hope this was helpful. I enjoyed writing it for you all!
Love and Airbrushing
Jamie!